Tuesday, August 24, 2010

It's been a while...

Okay so i have been super busy!!! School has started so many of my craft projects are now being worked on by 14 smiling kindergarteners! However, I have been frequenting the Goodwill! (I love this place!) I have plenty of projects BEGGING me to begin and hopefully I will have some time soon!

Future projects to look out for:
- Cupcake stands (I bought a ton of supplies from Goodwill!)
- Candle holder
- Another candle holder thing (my mom donated this!)
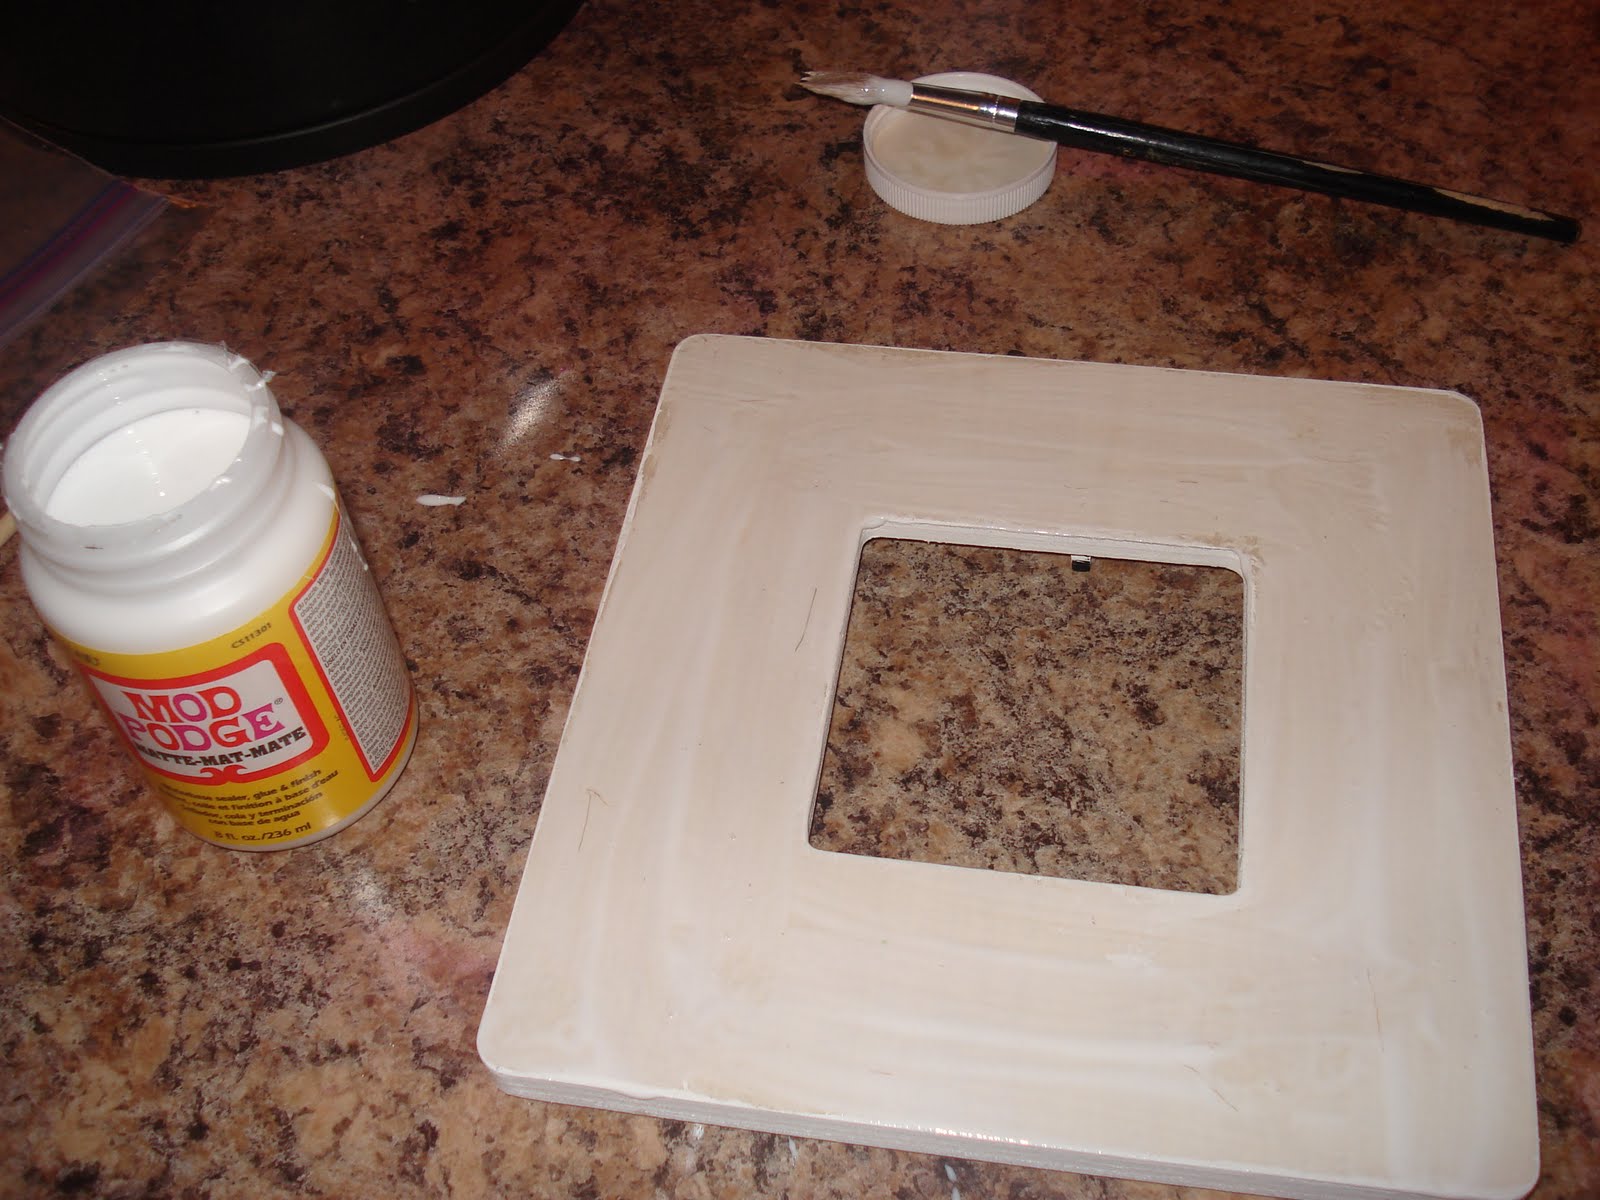
- 4 picture frames
- 2 wooden chairs

I am also looking forward to purchasing a monogramming machine! I think I have found one, but I have to have a craft table. So, I am also looking for a craft table to put it on, which is not as easy to find. If you have any ideas, PLEASE share share share!

Tuesday, August 3, 2010

Back to School....a day of lasts...

Today has been a long day of lasts. I had my last breakfast, lunch, and dinner of my summer 2010. It was a super fun one and I'm sad to see it go! But, I must carry on. It's time for a new adventure! Thursday I will find out who will be my precious new kindergarteners! After much work on my classroom (I'll post pics later!), and I mean A LOT of classroom work, I think I am about 98% finished!

So as I am looking online for some cute new teaching ideas and I came across a craft project to make a lap desk. It sounded easy enough! I gathered a few materials (dry erase board, fabric, hot glue gun, and plastic bags) and headed over to Lizzie's house. Here is what we came up with!

First, I glued 3 sides of fabric around my dry erase board.


Then I stuffed it with plastic bags, what a great way to REUSE!


I glued the fourth side and added ribbon and a bow!


My students are going to love these! The possibilities are endless!!!!!!

Monday, August 2, 2010

A picture (frame) is worth so many words!

Inspiration is everywhere! I saw a cute picture frame online and I thought to myself "I can do that!" With a little help from the internet and a couple of DIY websites, I have made the cutest picture frame! I gathered a few materials...unfinished frame, Mod-Podge, cute paper, and a hot pink flower.

First, I traced my picture frame on the cute paper. I cut around the picture frame with an Exacto knife (I love those things!).


Set the paper to the side. Next I painted the sides and the inner area of the frame white so that the wood is not seen. Then I put a layer of Mod-Podge on the picture frame. I gently soaked the paper in water and applied it to the frame. While the paper is still wet, apply another coat of Mod-Podge. Once it has dried, apply another coat- for good measure!


After the Mod-Podge has dried, I trimmed the edges and added a super cute pink flower! The final project:


Tell me what ya think! I would love some insight!

I plan on making more picture frames in college game day colors and designs! Let me know if you would like to order one and the college and it will be ready within the week! Cost is $10.(Auburn fans will have to pay more! ROLL TIDE!)

Keeping calm and creatively yours!